Introduction
In this guide, I will walk you through the process of setting up Apache Spark on NixOS. From searching for the package to running Spark and monitoring jobs, this tutorial covers all the necessary steps to get you up and running with Spark on NixOS.
Finding Spark in NixOS Packages
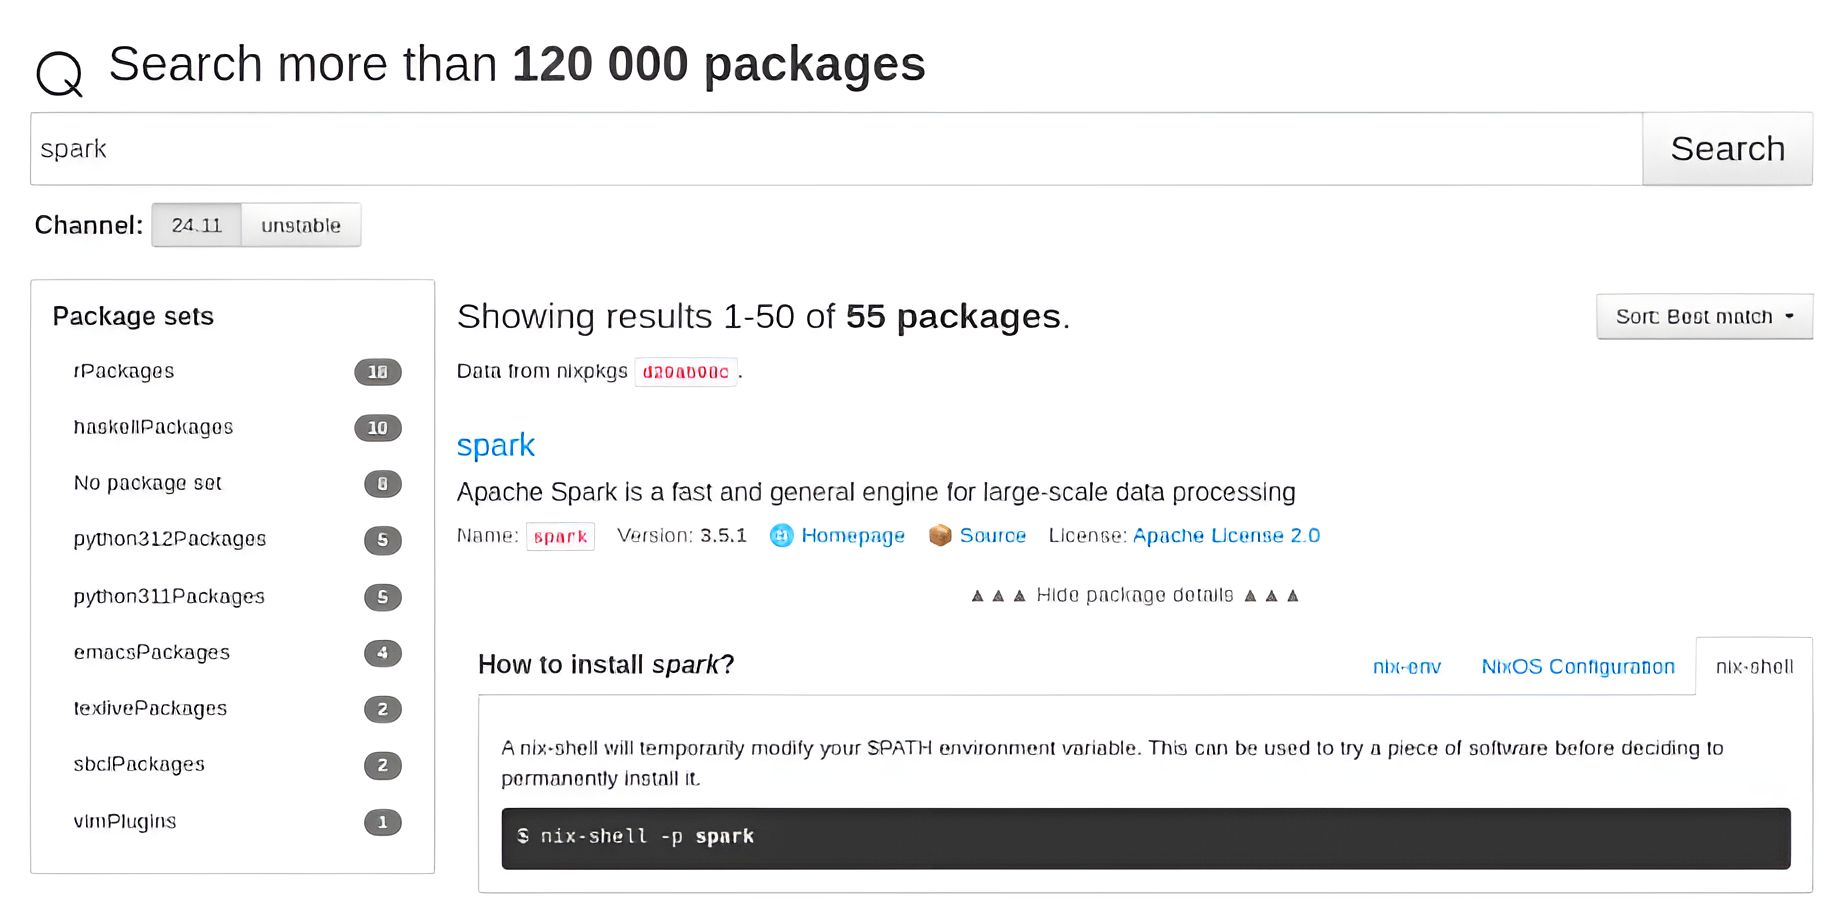
I wanted to use Apache Spark on NixOS, so I started by searching for it in the NixOS packages. I visited the NixOS package search page and looked up "Spark" to find the relevant package.
The search results can be found here, which provided me with an overview of the available packages related to Spark.
Temporary Installation of Apache Spark
After reviewing the description, I learned that to temporarily install Apache Spark on my NixOS system, I needed to run the following command in the terminal:
nix-shell -p spark
Installation Output
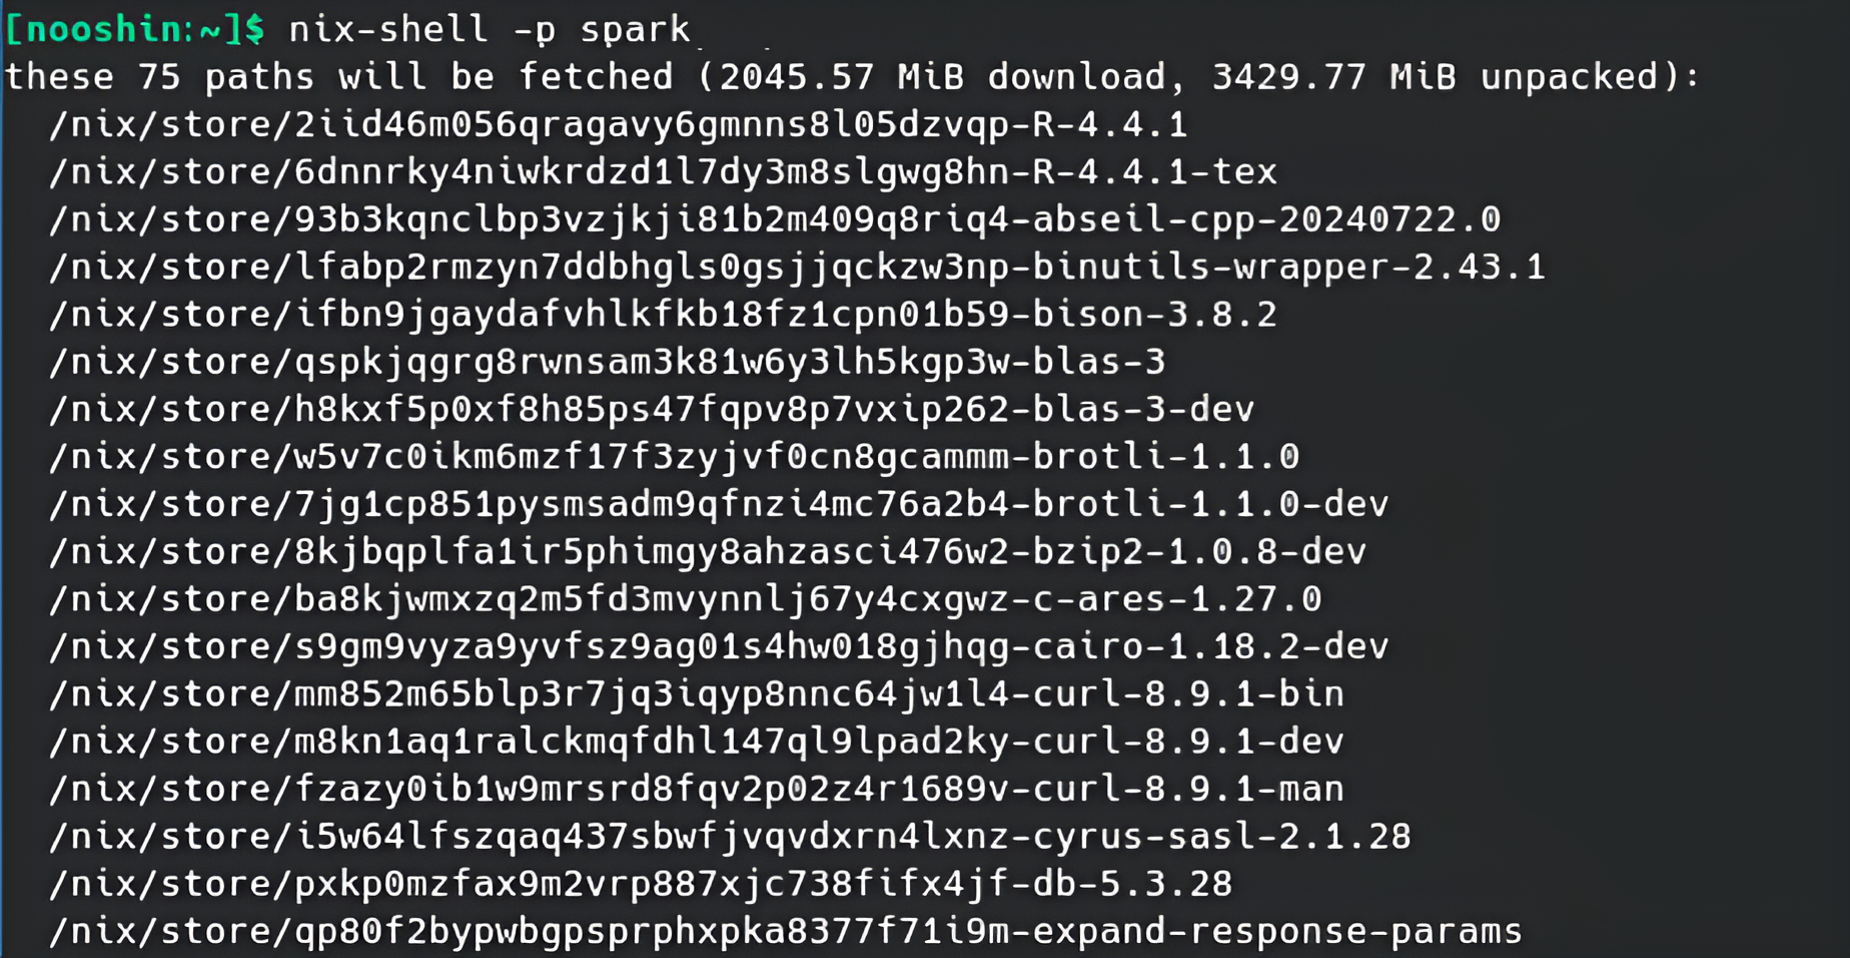
Once I ran the command, the following output showed the required packages being downloaded and unpacked:
[nix-shell:~]$ nix-shell -p spark
these 75 paths will be fetched (2045.57 MiB download, 3429.77 MiB unpacked):
 /nix/store/2iid46m056qragavy6gmnns8l05dzvqp-R-4.4.1
 /nix/store/6dnnrky4niwkrdzd1l7dy3m8slgwg8hn-R-4.4.1-tex
 /nix/store/93b3kqnclbp3vzjkji81b2m409q8riq4-abseil-cpp-20240722.0
...
Running Spark
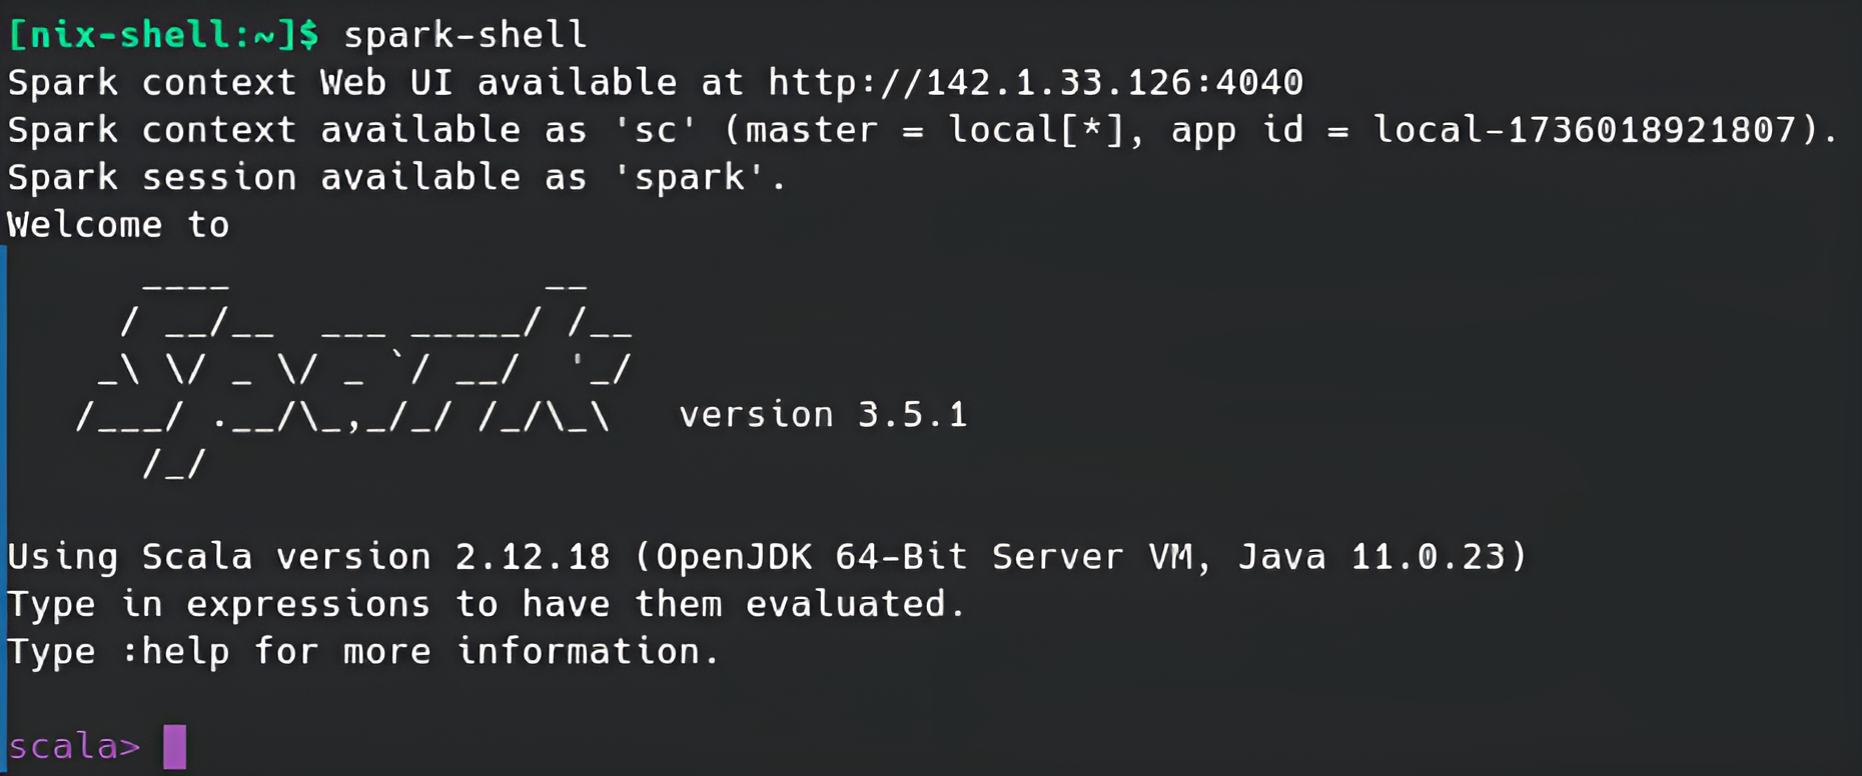
After the installation process was complete, I ran Spark by typing the following command in the terminal:
spark-shell
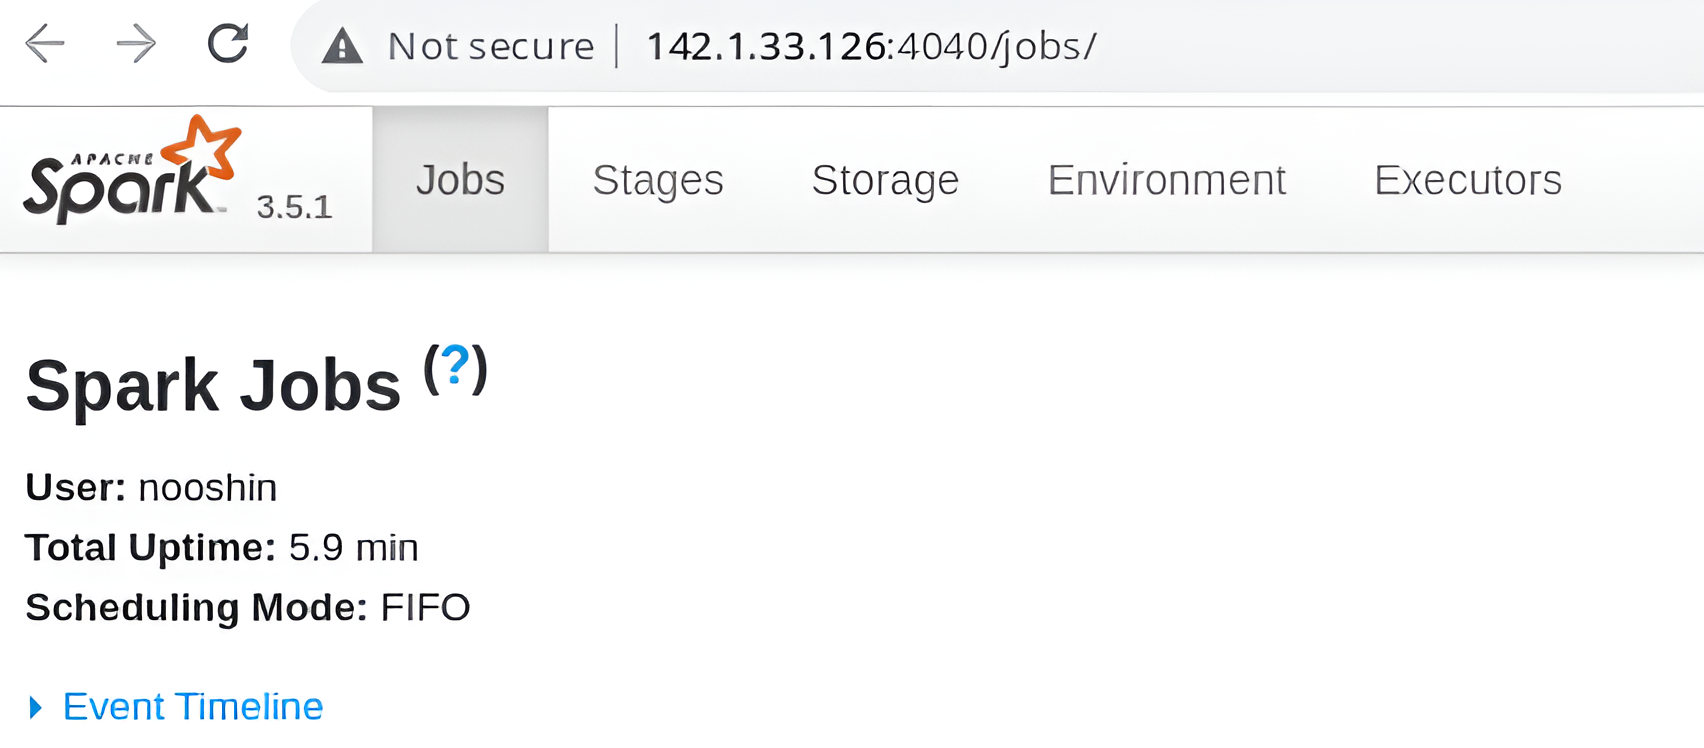
Once it started, the Spark shell application UI became available at http://142.1.33.126:4040, where I could monitor and interact with my Spark instance.
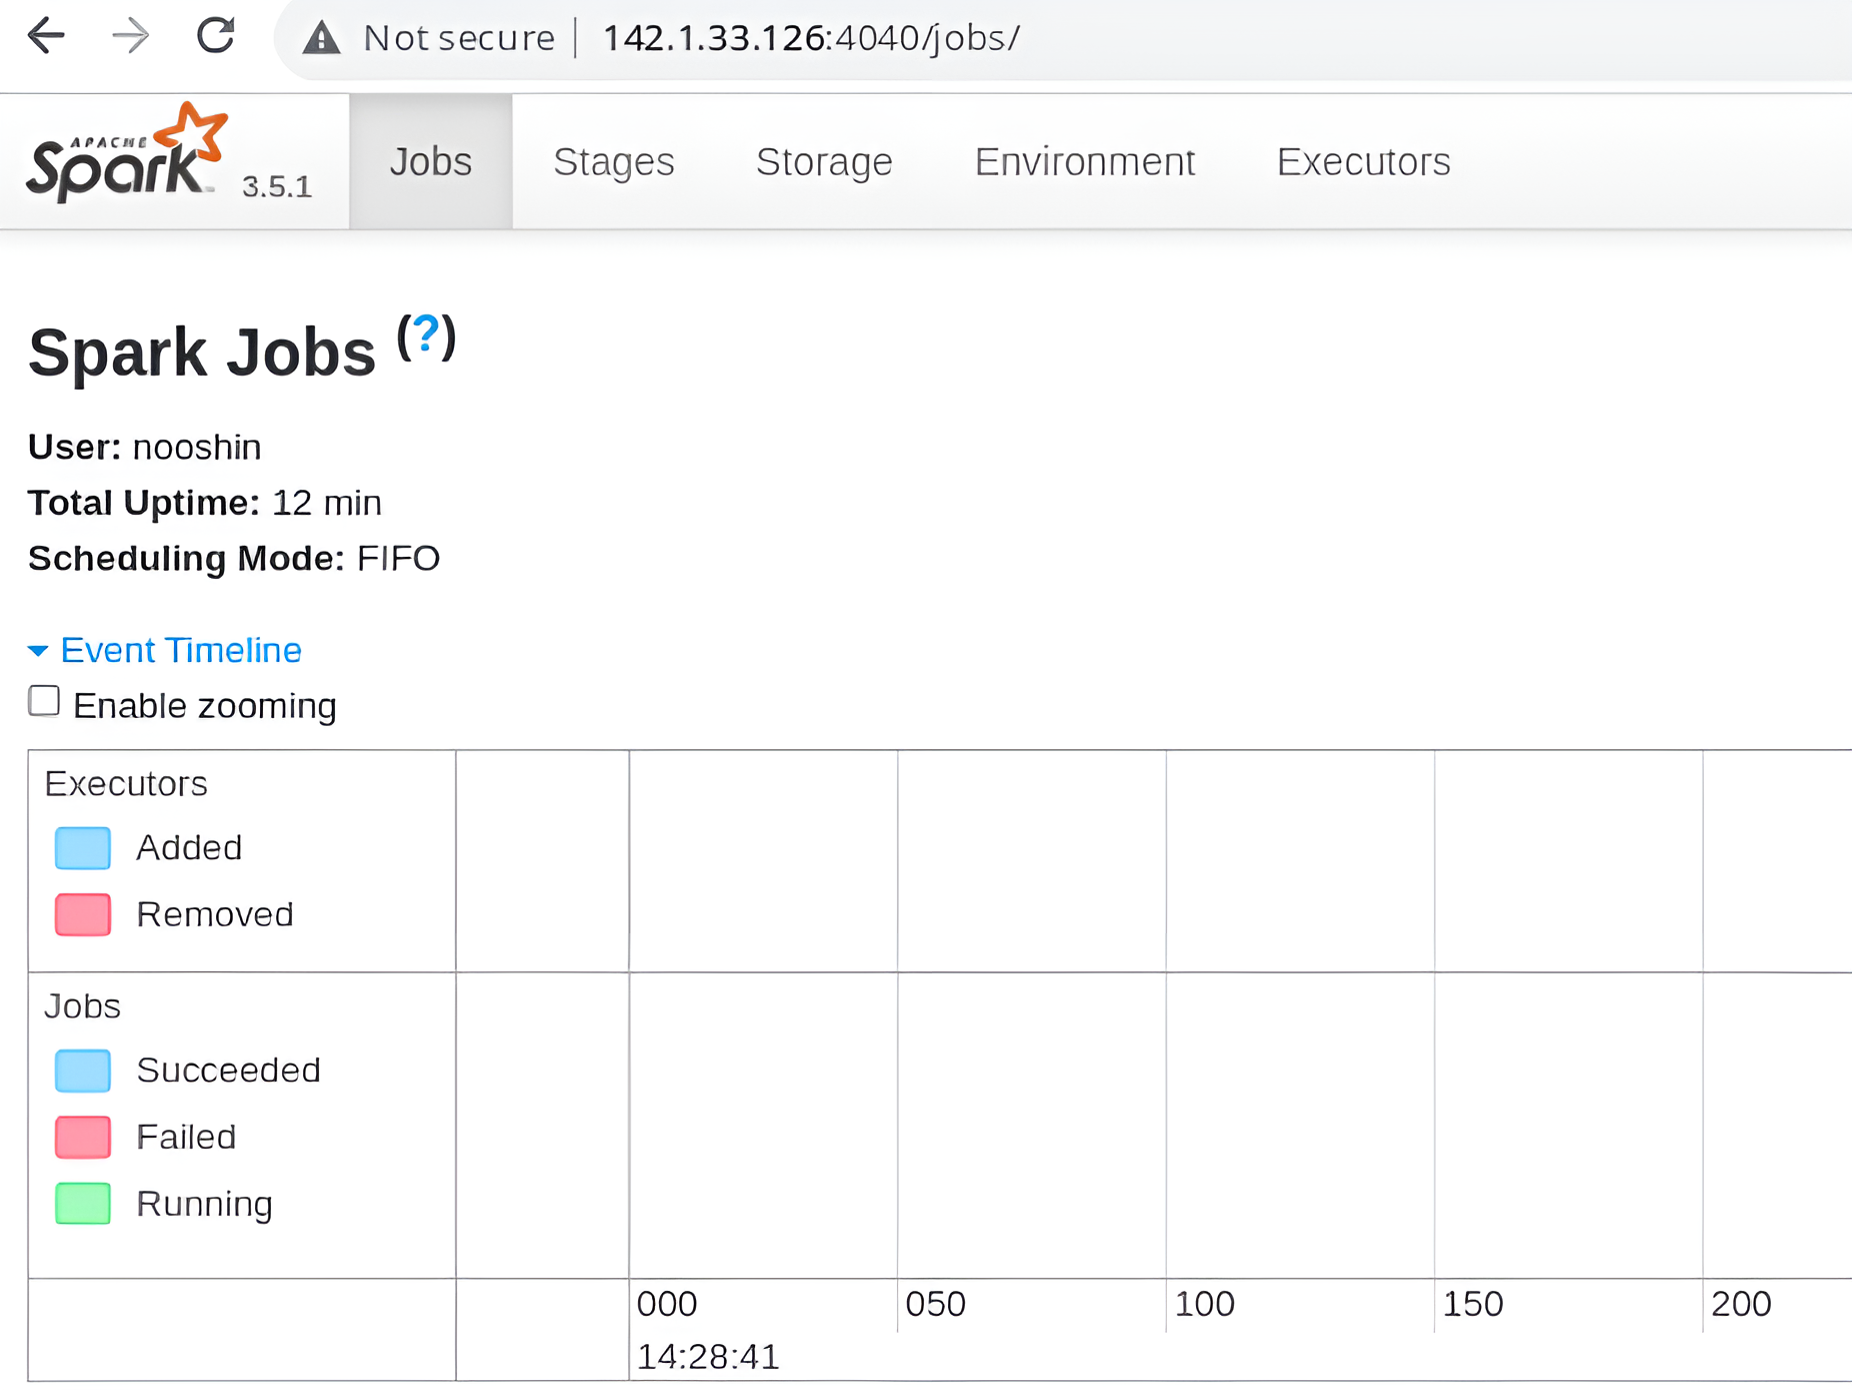
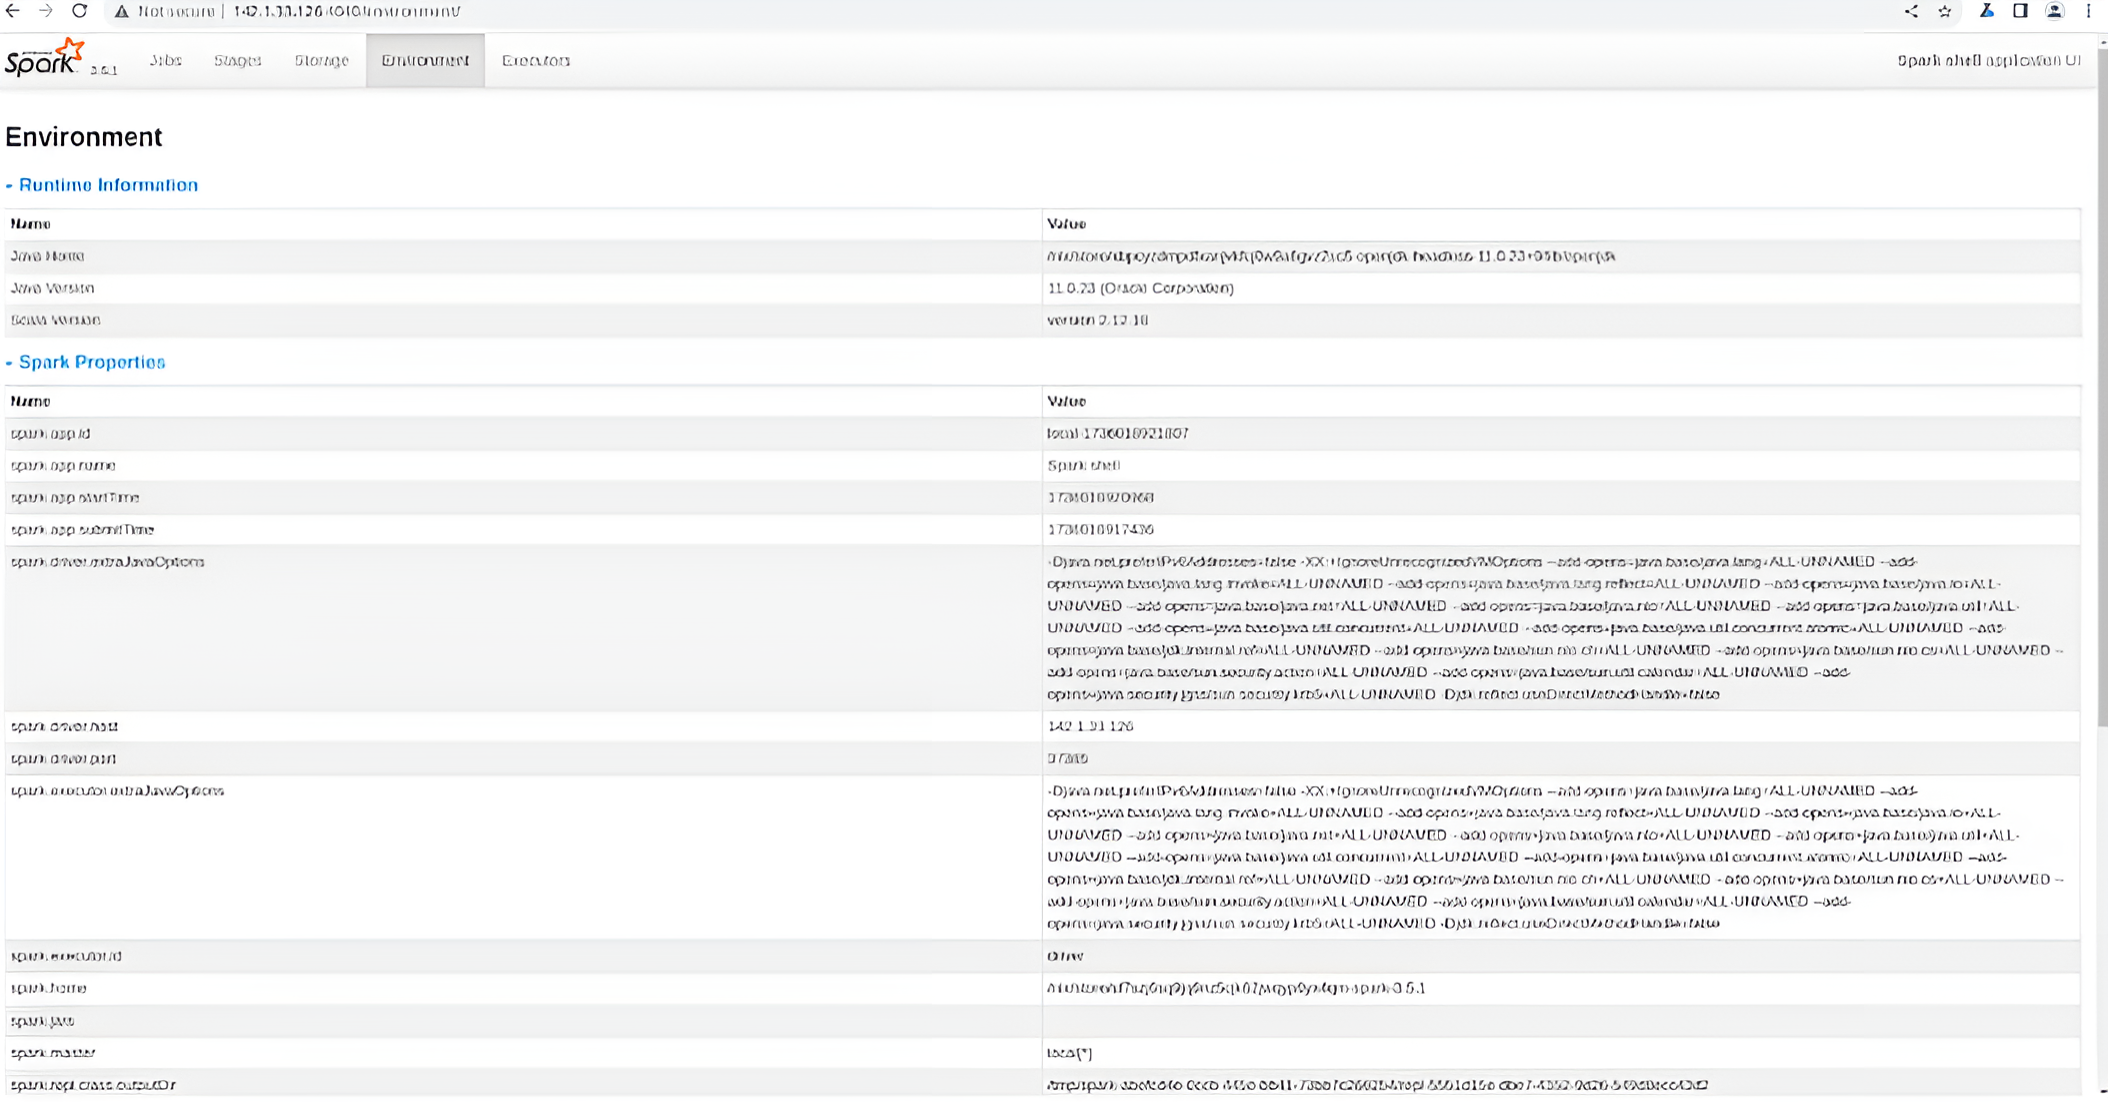
Monitoring Spark Jobs
Below are different windows of the Web UI that I accessed to monitor and interact with Apache Spark. These windows provided various insights into the job statuses, active applications, and performance metrics:
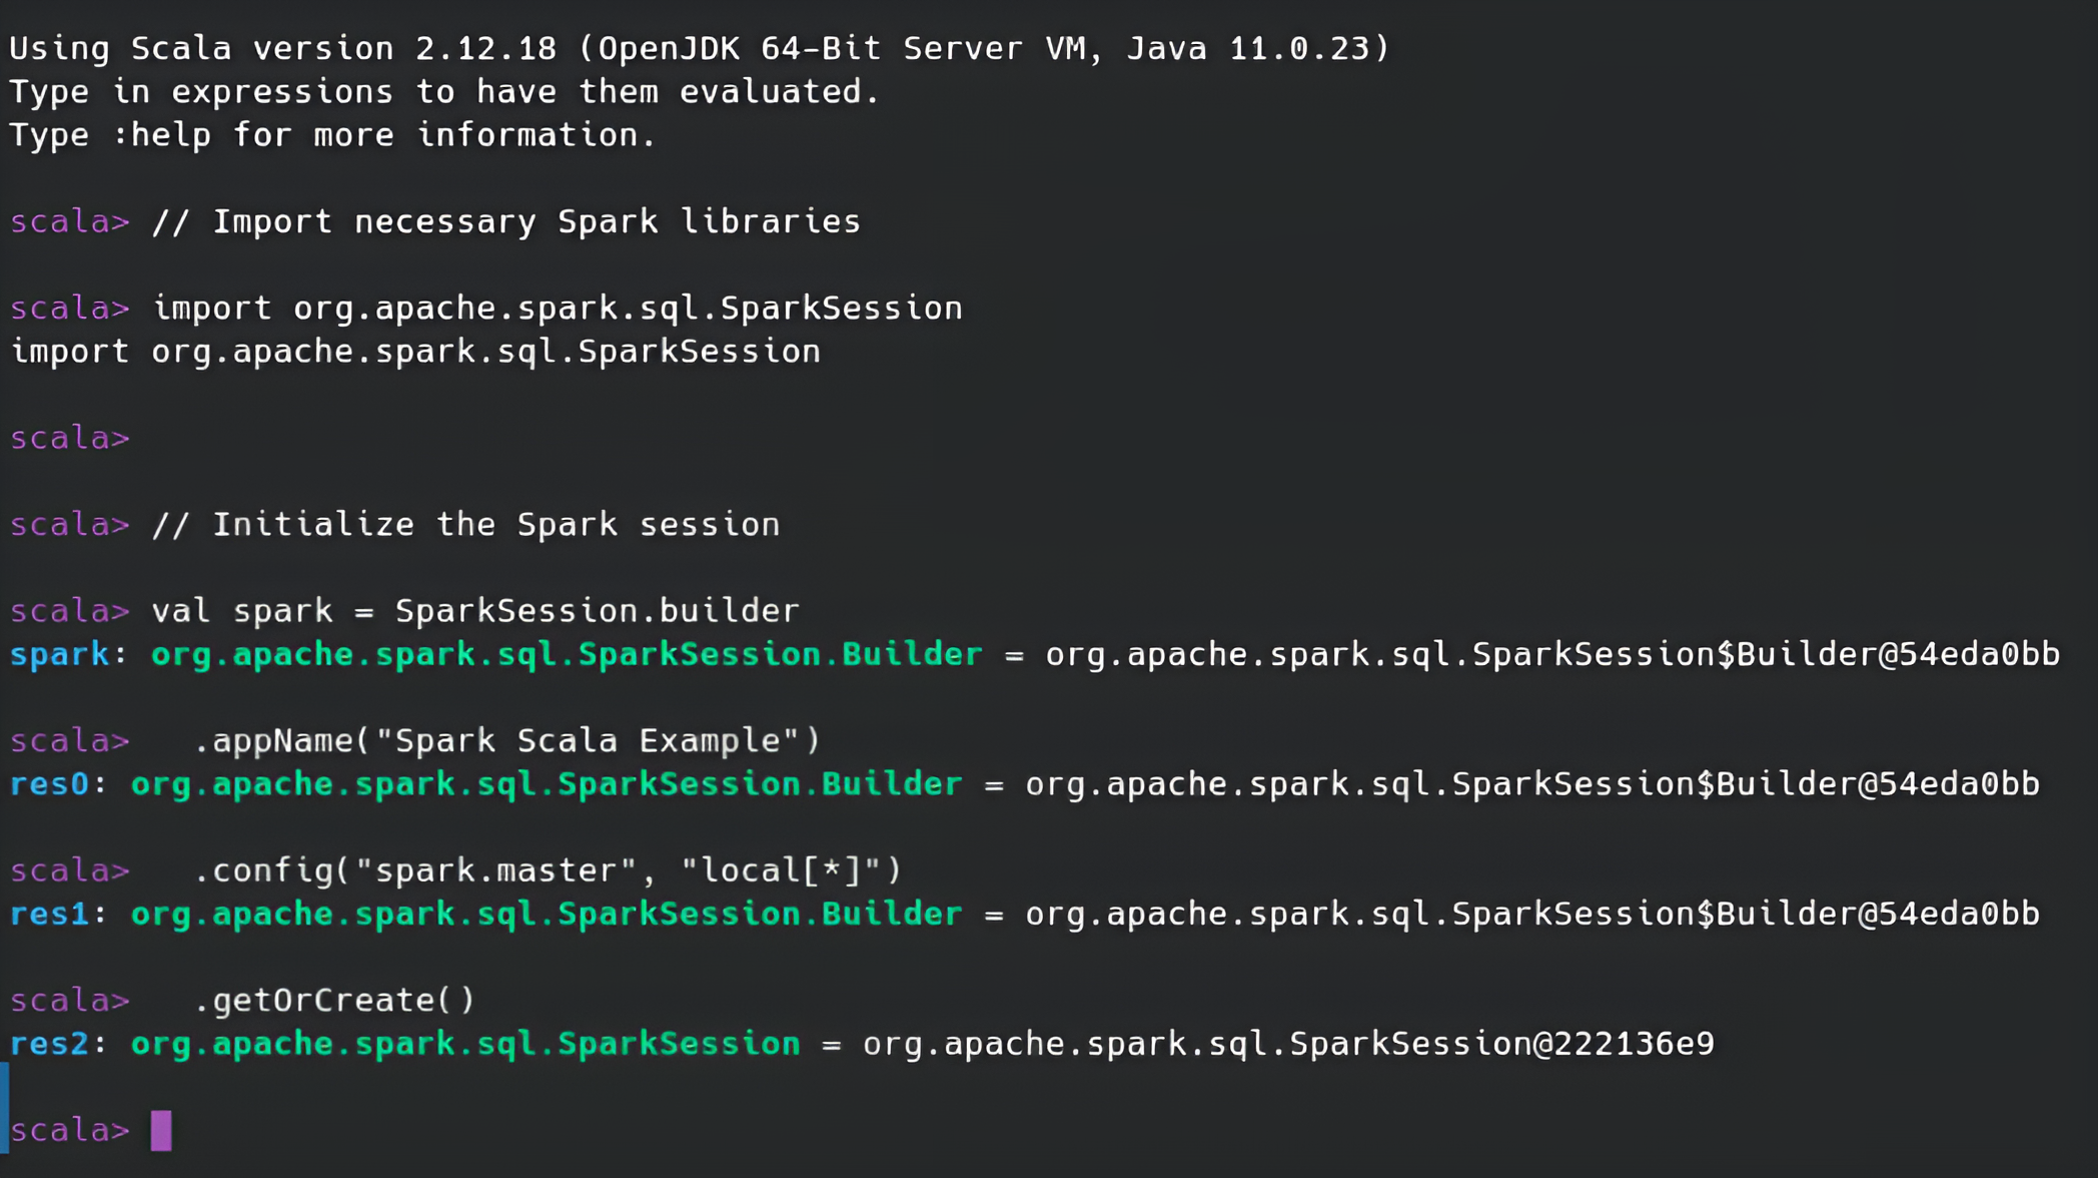
Initializing Spark Session
I started by initializing the Spark session. This allowed me to begin working with Spark's features, such as running jobs, processing data, and interacting with the Spark environment.
// Import necessary Spark libraries
import org.apache.spark.sql.SparkSession

// Initialize the Spark session
val spark = SparkSession.builder
  .appName("Spark Scala Example")
  .config("spark.master", "local[*]")
  .getOrCreate()
After hitting Enter, I saw the Spark session initialize in the output. This confirmed that Spark was successfully set up and ready for use, allowing me to start running Spark commands and jobs.